GOOD NEWS!

As many of you know I had to leave my wonderful job as the art teacher at Stone Elementary, but I am happy to announce...
I will be the new art teacher at Mt. Pleasant Elementary in Middle TN! I will be teaching PreK - 4th grade. The craziest things about this school is that it is where my mother started her teaching career in the public school system and it is where I went to Kindergarten. I feel so blessed to have this job especially when art jobs can come few and far between. A plan B was even in the works if a job didn't come along. 
I have met with the administration and I couldn't be more excited to start working with them. Stay tuned for pictures of the new art room from beginning to end.
Mt. Pleasant Elementary 

More good news!

accelerated degree programs
I was nominated for my blog entry about teaching Kinders using Art Centers. I am so honored to be nominated because I started this blog to evoke talk and discussion amongst educators and those in educator rolls. This nomination shows that Art Education is important in our children's lives. The fact that we have our own category in these awards shows we are taking an active roll in bettering their education. Good luck to my fellow nominees (I don't know who they are yet). 
Please click on the badge above to find out more details and when voting begins. I would appreciate everyone's vote! 


6

What bulletin board could you not teach without?

As I sit here thinking about how to design my new classroom...
Yes, I say "design" rather than "decorate".  We design to create an effective learning environment.  We decorate to make it look nice.
I think about the boards that I have put up in my room that have really made a difference or have enhanced my teaching.
My Top 6 Bulletin Boards
6. Elements and Principles of Art
Need I say more? They are our basic vocabulary and I refer to the everyday. They are always displayed where students can easily see them. 
 
5. Name, Table, Code
If this is not on the back of a student's work, I am lost.  This is one of the first procedures we practice.  Name: student's first name
Table: the color table they sit at
Code: Teacher's initial - grade
(Sorry I don't have a picture of this on my board. This is an example on the back of a student's work)

4. Swish, Wipe, Blot
This poster is the difference between life and death for my brushes and paint. Students learn to swish in the water, wipe the brush on the side of the bucket, and blot on the paper towel

3. Art Marks
Many art teachers don't use this kind of system. That is fine, because this system works great for me.  This is a whole group behavior chart. It has more to do with noise level then anything else. A class will end art class on a green (great day), yellow (okay day), or red (not good) day.  I have three circles with these colors on my board. If students get too loud during working time I will put up a green warning (If they never get a warning it is a green day).  If they get loud again, yellow last warning.  Finally, if they continue to be loud or unruly, I will put up a red for no talking. At the end of the year, the class in each grade with the most green days wins a surprise party (Lots of fun art games)

2. Landscape, Still life, Portrait
I refer to this so much that by November students are pointing out which one we are creating before I even ask. This year I want to change it up with new examples throughout the year. Maybe even include some student examples. 

Finally the board that I can't teach without....
1. Behavior Board
I don't believe you can teach anything without an individual behavior system. Yes, I do use a whole group behavior chart, but this is the one I covet. It has taken many forms over the years, but has kept the same concept. 
When a student breaks a rule, I say, "pull your card" they go to the board and find their teacher's name on a pocket. The student pulls out the cards in the pocket to find their name. They will then clip their card to the consequence. 
Consequences: Warning, 5 minute time-out, 10 minute time-out, Teacher's decision (this is the most severe and I will deal with it appropriately. 
Here is the most current behavior board followed by previous years'. 
To learn more about this board visit The Behavior Board.
To find out more about each of these please visit Classroom Management

What board can you not teach without? 
(if you have a blog, please link to it)


0

2012 Art Show


This year I decided to take a great tip from Patty at Deep Space Sparkle.  I cut butcher paper to display 2D work for each class.  Average class size of 24 kids had to have 2 butcher papers for work.  I would have each student pick their favorite work from their portfolio, and put a name label on it.  Once everyone had chosen, I would tape (masking tape) the work to the butcher paper, roll it loosely, and label it with the teacher's code.  The rolled paper would be stored vertically until the show.

To hang the work on the "all purpose room's" walls I used my favorite tool, masking tape.  I use Sherwin Williams brand contractors tape.  Don't use the cheep stuff!  I had six student helpers create tape rolls and attach them to plastic covered mats.  Once a mat was covered in tape the students would then pass them off to me and other volunteers to attach to the back of the butcher paper to hang on the wall.  Students would start a new mat each time they finished.  We were a well oiled machine.
Below, student tape more work to butcher paper that I didn't have time to do during class. Notice the tape mats around the room. 
Sometimes taping got a little crazy!
The finished displays.  I start on one wall with CDC, Pre-K, and continue around the room.
 The two pieces of butcher paper for each class are hung side by side.  The teacher's name card is listed beside each display.  Notice we really didn't try to line things up perfectly unless we had to due to space. 
Note to self:  Next year get butcher paper before TCAPS.  The supplies were limited because teachers use the butcher paper to cover up instructional posters during testing.  Red and Yellow were the only colors left in the amount I needed. 

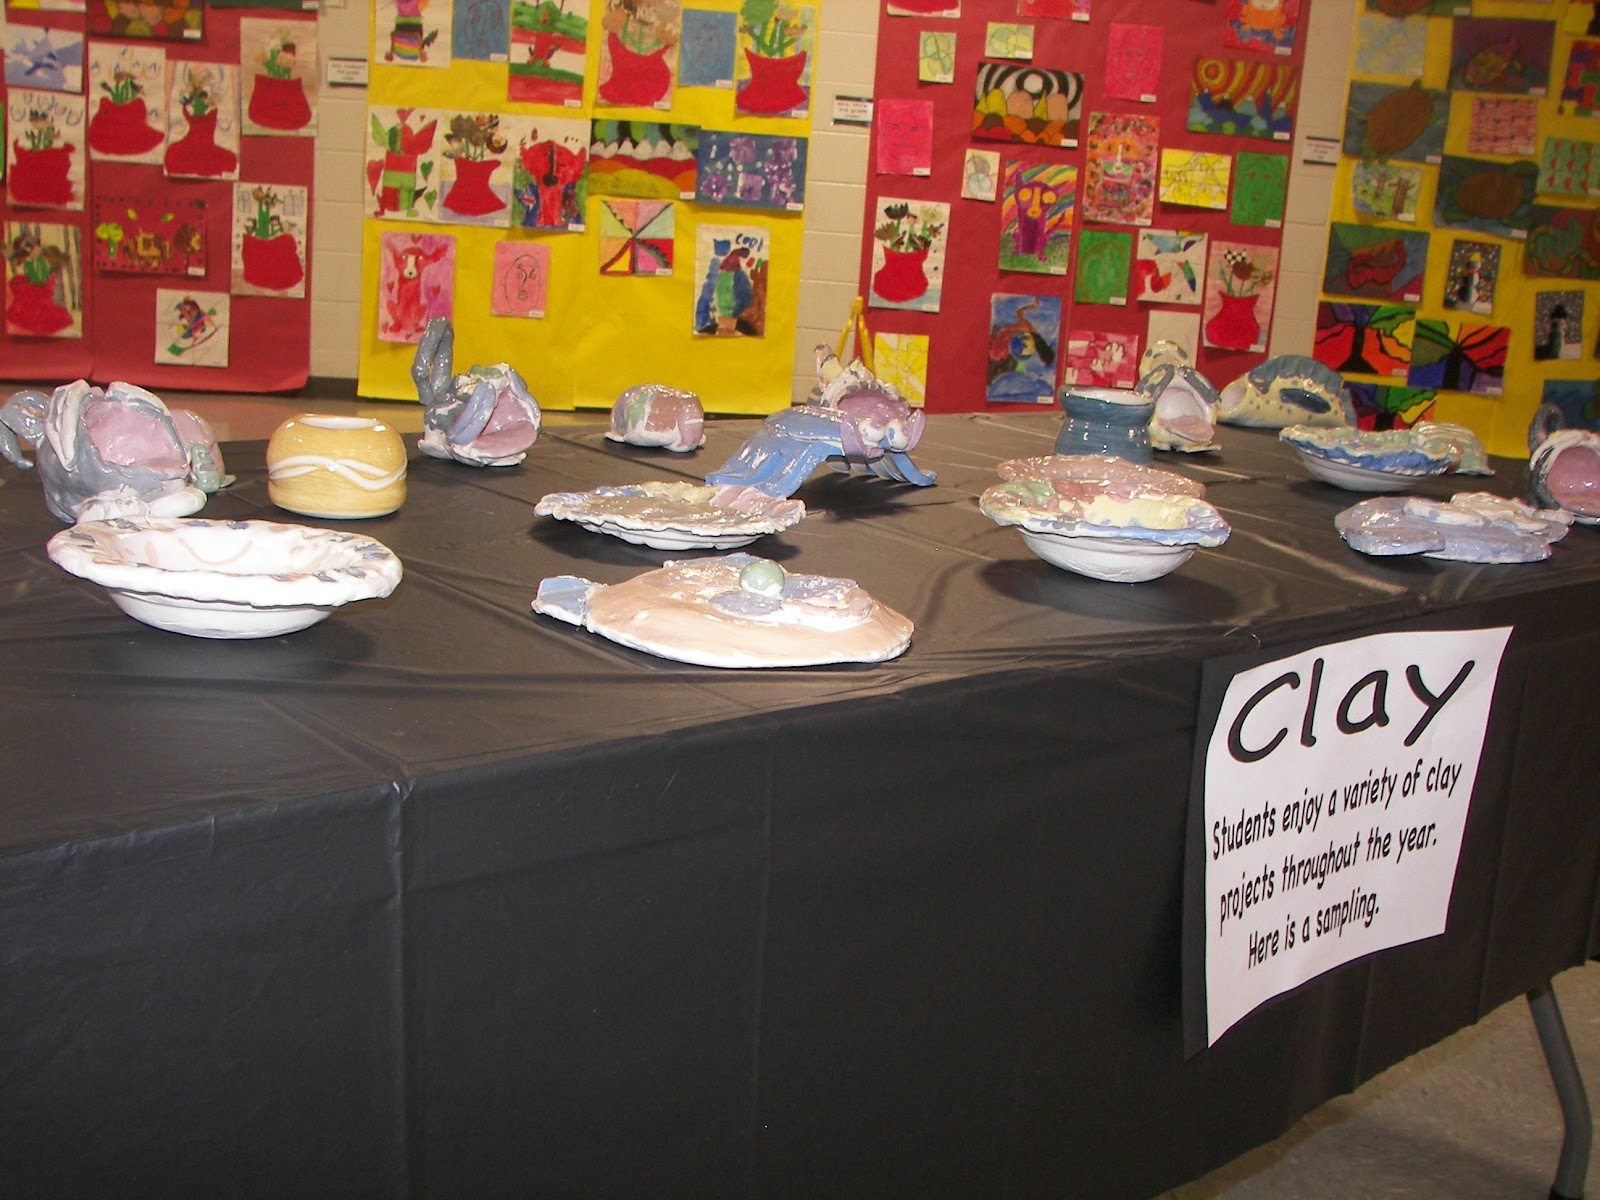
 Tables for 3D work.  Students could enter a second piece in the art show if they brought back their clay project. 
 A kindergarten class's circle painting mural. 
The favorite of the evening was the Ugly Doll table.  6th graders did such a great job!  Check back for this lesson. 


7

When one door closes... another will open

   I am happy and yet so sad to announce that my time at my school is over.  My husband's career has taken flight and we are moving to greener pastures.  These greener pastures will be in our home town and we are so thrilled to be moving back with family and friends. 


   I'm reflecting on my time at Stone Elementary and remembering how bitter sweet it was.  I knew that I may not always stay at Stone, but I never knew how hard it would be to leave.  I remember a second grade teacher friend telling me how hard it is at the end of the year to say goodbye to her students.  I never had to know that feeling, because I see the same students year after year.  Now I understand what she means.


   It was not easy standing at the front of the class, 6 classes a day for 5 days telling the kids that I was not coming back.  Over the next couple of weeks I received more drawings and paintings then I knew what to do with.  I have put them all together in a notebook for safe keeping. You never know the difference you make until you look at all the love flowing out of 3 notebooks.  I have been at Stone for 4 years and I haven't thrown away one piece of art a student has given me. (With the exception of some with no names....)


   I don't know where I will end up as of yet, but I am excited to begin a new adventure.  
Here students write messages for me on my board. 
 The very last thing I did before locking my door for the last time was erase my board.
The wonderful cake from my faculty and staff. 
The pic doesn't do it justice. This cake was huge!
Toothless the class mascot was loved by all students. He will hopefully have a permanent place in my old room. I made this poster for the students and left it on a board with a note to the new teacher in hopes that she will leave it up. 
 Just doesn't seem real


I hope my next room has a nice view like this.


12

Baby Glue Dots

Glue on your hands, glue on the table, glue on the floor? I hate it when glue gets in places where it just shouldn't be. If students are not taught how to use their glue correctly or in some kind of manner, it will typically end with a razor blade scraping it off the table. Here's how I solved this problem.
My students use these steps for gluing.
1. Open the glue by making the tongue disappear. (We also stick out our tongues and stick em back in)
2. With the top up, squeeze gently to make sure it's breathing. If air comes out we're good to go.
3. If no air comes out then we have to open close, open close and pick out the glue boogers!!! 
4. Then we flip over and gently squeeze one "Baby Dot" onto our finger. 
I have them do this exercise in grades K-2 every time we use glue to make it sink in in the upper grades. 
A "Baby Dot" fits in the center of your finger. If they learn this early with their tiny hands, the dots stay small and it seems to stick with them in the later grades.
We also compare it to a Momma Dot and a Daddy Dot.
"What will happen if we use a Momma or a Daddy Dot?"
"It will go smooosh!"
If a smooosh does happen we leave it to dry clear. If we leave it and kids don't like it they are sure to try not to do it again. 
5. To get the glue off our finger we rub our hands together and "Turn it to DUST!"
Kids love this and it's great because we don't always have time to wash everyone's hands. 

Below are some pictures of the first activity I do with Kinders in the Fall to teach them this technique. 
We are making a mosaic with many pre-cut shapes. The shapes are small which makes it great to teach why we use Baby Dots and not Daddy Dots. This activity is definitely more about the process than the product.

Trays of shapes.
 Great Baby Dots
 It doesn't matter to me whether the students put the dot onto to back of the piece they are gluing down or directly on the paper. I really feel like it depends on the project as to which way is best.
How do you glue?
Back to Top