Showing posts with label Principles Lessons. Show all posts
0

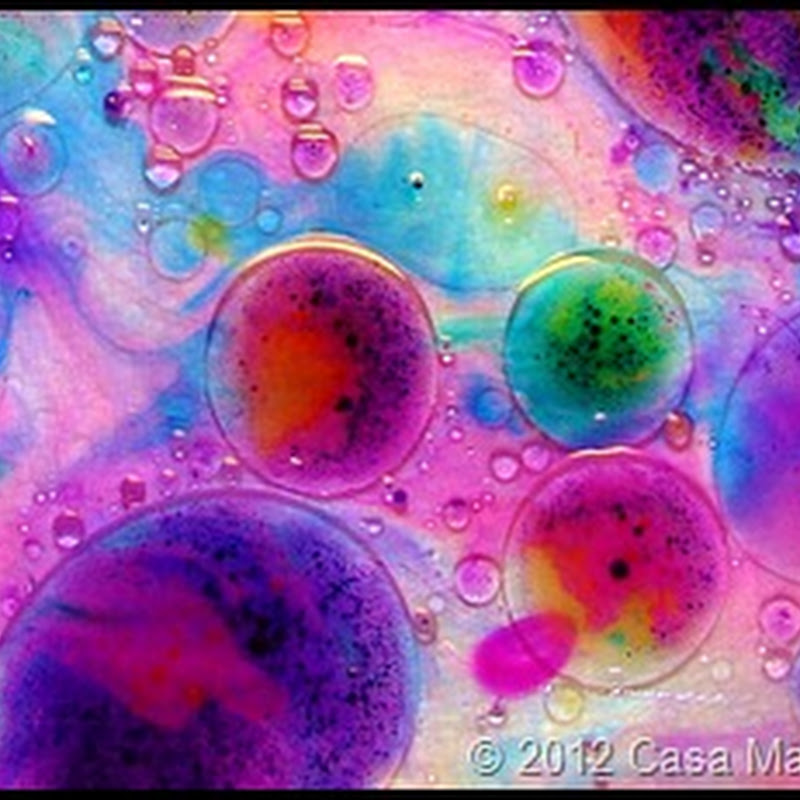
Gelli Plates, monoprinting, principles, and a critique

I absolutely could not wait to try my new Gelli Plates with my Art 3 students. I not only wanted them to experiment with the plates, but I wanted them to apply knowledge of the art principles. Earlier that semester I had given a pre-test on the principles of art and the results who poor… to say the least… Art 3 is a precursor to AP Studio Art and they must understand the principles and learn to identify them. 
Voila, a lesson is born. Monoprinting, principles, and a critique
Students were reintroduced to the principles of art using many visual examples. Then, in groups, they had to decide what principle(s) the image on the screen was displaying. This promoted discussion within the group and competition amongst all groups because I said winning table would be cleaned up by me :). Not only did they have a tell me what principle was used, but had to explain how it was used. Sometimes they would even point out a principle I missed and had to explain their reasoning for that. 

Next, came the demonstration of the mono printing process. First, I showed two youtube videos on mono printing which you can find on my Printmaking Pinterest page. Then, I demoed where the materials were and how to use them. What I love most about Gelli Plates is that you could use any kind of acrylic paint and other material to "block" the paint. This excited the students more then anything because the whole process is very experimental. 
Materials
gelli arts plates
paint pallets 
pallet knives
brayers
7"x7" printing papers
scrap paper
bubble wrap
found objects
scissors
forks 
Q-tips
I allowed them one day of "play" so they could experiment and make some random pieces. Also, because the plates of 6"x6" I cut plenty of 7"x7" papers for them to use. 


At the end of the "play" day I introduced the project. 
They were to choose 4 principles and create a print for each. They used their sketchbooks to draw out some ideas, but many of them kept experimenting and would decide on the principle after the print was made. This was fine with me because they still had to identify the principle. So either way they were applying that knowledge. 


Finally, after the projects were complete we broke into our critique groups. Students placed a post-it next to each print to identify the principle they used and how that principle is being used. Peer critiqers were to write whether the principle was successful or not, why, and what could they have done differently. 


Overall, it was a successful project. Students learned their principles, argued their ideas, and learned mono printing. Though, I do think you need that day of play because students will want to use their own ideas more then the principles. Also, some of the "play" ones can even be used in their project because they realized they were using a principle of art. 
2

Patterned Shoe Prints

First graders used LINE and PATTERN to create shoe prints.
Students learned the 5 types of LINE by singing our Line song and drawing them in the air. 
Then, we discussed PATTERN by using different materials to make patterns. 
 Each table had different materials to make patterns. It was a great assessment tool.

Next, students worked together to trace their shoes with a black crayon.
Time to draw the LINES. Some students wanted to draw the actual lines that were on their shoes.
Crayons were used to show PATTERN.


Finally, students cut out their shoe prints and glued them to colored construction paper. 
 

2

A Disaster... So I thought...

One day I decided that I would challenge my 1st grade students with a lesson I had not done before with this age group. 
Lesson
Symmetrical Ghosts with positive/negative space
I said I knew it was going to be a challenge, but I don't think I was quite prepared for what I ended up with. By the end of the period I rushed the kids to finish out of sheer frustration of the numerous questions I was asked. I just couldn't understand why they didn't get it. I was so tired of hearing my name at the end of the period, I could have screamed. While leaving for bus duty I took this parting shot.
After bus duty I had some time to cool down. Like I'm sure we have all gone through, I realized the problem was not the students but me. I was wiped by that time in the week and with all the "wedding stuff" I'd had to do, I really didn't need to try something new without preparation.... but I was bored and went against my better judgment and did it anyway. 
When I was finally able to look through their work, I was surprised. I don't know what blinders I had on during the class.... But they got it! In their own way... but they got it! I just didn't take the time to explain every step (hence all the questions) but by the time I had answered all of them... "By George they got it!" Take a look

notice the violet and black one :)


Majority, got it... 
The reason for this post was to show myself that you should never be unprepared. If you are, then be prepared for the frustration and take what you get. Don't ever come down on your students for something that is not their fault. 9 times out of 10 it was something that you could have done better. And never give yourself more than you can handle. 
7

Name Aliens... Bugs... Whatever!

Such a huge success!
 I have called these designs bugs and aliens. Students prefer aliens because I began this project right after the movie Monsters vs. Aliens came out. I use to do this lesson as a one day filler lesson without the paint. But this year I decided to take it a little further.

Materials
12"x18" white 60 weight drawing paper, black oil pastels, pencils, crayons, liquid watercolor

We began by talking about two kinds of Balance: Symmetrical and Asymmetrical
I called on students to give me examples of shapes that were symmetrical and then asymmetrical. 

The first step was to fold your 12"x18" paper in half like a hot dog and then open it back up and turn the paper horizontally. 
"We want these Aliens big!" Therefore, students should write their name (with pencil) in cursive starting on the fold line and having their capital letter almost touch the top. (I always find that cursive brings the best results)
Once they have written their names with pencil, students will trace over their names with a black oil pastel. 
Next, fold the paper back in half like a hot dog and use a ruler to rub over the paper heavily. Please be sure not to rub too hard or the paper will tear. Students open their paper to see that the name has transfered. The transfer will be light so they will need to retrace the new side with the black oil pastel.   
Students may add new body parts and such to their Aliens, but the designs are symmetrical! What you add to one side must be added on the other!! 
Now, use crayons to add color to your Alien.
Once students have colored their Alien heavy and dark, the next step is to choose one color of Liquid watercolor paint.
( I pour them each a little of the color they want into a condiment cup and I add some water to make the paint last longer)


 Simply AWESOME! I didn't have one student that was not pleased by their Alien.


My Hands, Lines and Pattern


I love to start the 1st graders off with this little lesson I got out of the book Hooked on Art.
 We began by talking about the Elements of Art and how they are what artist use to make art. I believe line is the foundation of the elements, so I always start there. We discussed the 5 types of line with a little.... not really a song, but kinda, sorta a chant that the kids love and remember year after year. It goes a little like this: (complete with hand motions)
"Laying down line, Stand up line, Slash! Curvy curvy curvy, andddddd
a Zig and a Zag and a Zig Zig Zag!"
Thank you again Pam Hickman!
The kids love to sing the Zig zag part over and over when they work on line projects. 
Then we talk about the Principle Pattern! I usually find patterns with the students. I'll line them up by shirt colors or something and ask the others to guess the pattern. They eat that up!
Then comes the Project.

Materials: any size paper, black crayons, color crayons, and your hand!

Students begin by tracing their hands with a black crayon 5 times for the 5 types of line. They may overlap or trace all around.
Then, still using the black crayon they draw in the 5 types of line. They could use  one line to each hand or mix them up.
Finally, students use color crayons to make patterns.
I always tell them to color heavy and dark!
"Are you in Kindergarten?" I'll ask.
"No!" 
"Good, then I want to see 1st grade coloring!"


The results are awesome!!
Back to Top